- Article Source: C++ Development using Visual Studio Code, CMake and LLDB
- Authors: Iván Mejía
C++ Development using Visual Studio Code, CMake and LLDB
I’ve been working for almost a year implementing micro-services on C++11 running as Docker containers. Through my journey I’ve seen to emerge quite a bunch of interesting tools to work with C++ on this field (micro-services and Docker).
I started using Xcode on Mac OS X (now macOS). Even when Xcode is a fine tool to work on a C++ project, with a very appealing UI and an not a super good debugging experience but useful IMHO, it has a really annoying feature: it is constantly indexing the code while I’m typing it and, in consequence, spinning my MacBook Pro’s fans up to 5000 rpm and making it really hot. I tried disabling all code completion options in preferences without any success. This made me think about returning to Emacs which, even when I used it in the past, I would say I’m not an expert and re-loading it in my brain will take me some time to interiorize the shortcut keys and so on, so I thought about looking for something similar but modern, for that I passed through TextMate, Atom, Sublime and Visual Studio Code{.markup–anchor .markup–p-anchor}.
Visual Studio Code (VSC from now on) has a similar idea as Emacs has, to provide a very simple editing tool but powerful at the same time providing the full development cycle (editing, building and debugging all inside the tool). It runs with native performance on Windows, OS X and Linux and with a very adaptive UI that looks and feels native to the OS where it runs, which is a plus.
At the time I started working on my micro-services project, VSC was quite new and there was not full support for C++ except for the syntax coloring and some very experimental integration with GDB and LLDB, but today after less than a year VSC is quite operational on the C++ development cycle, you can integrate it with CMake and build a C++ project from inside VSC and not only to use CMake but to use a C++ Debugger (GDB or LLDB) inside VSC.
So this article is about the steps I followed to configure VSC to work with C++, CMake and LLDB.
Prerequisites
- [A C++ compiler already installed, whether it is clang or gcc. In my case I have already installed Xcode that I use for my iOS projects so is convenient, but if you are only interested on pure C++ you can install any of the previously mentioned or both.]
Installed Visual Studio Code:
- [Download VSC from here
- [Open VSC]
- [Launch VS Code Quick Open (
⌘+P) and paste the following commands, then press enter.]
To Install the Microsoft C/C++ extension:
- [
ext install cpptools{.markup–code .markup–li-code}]
To Install CMake extension:
- [
ext install cmake{.markup–code .markup–li-code}]
Install Native Debug extension:
- [
ext install debug{.markup–code .markup–li-code}]
Let’s get started by creating a workspace in VSC
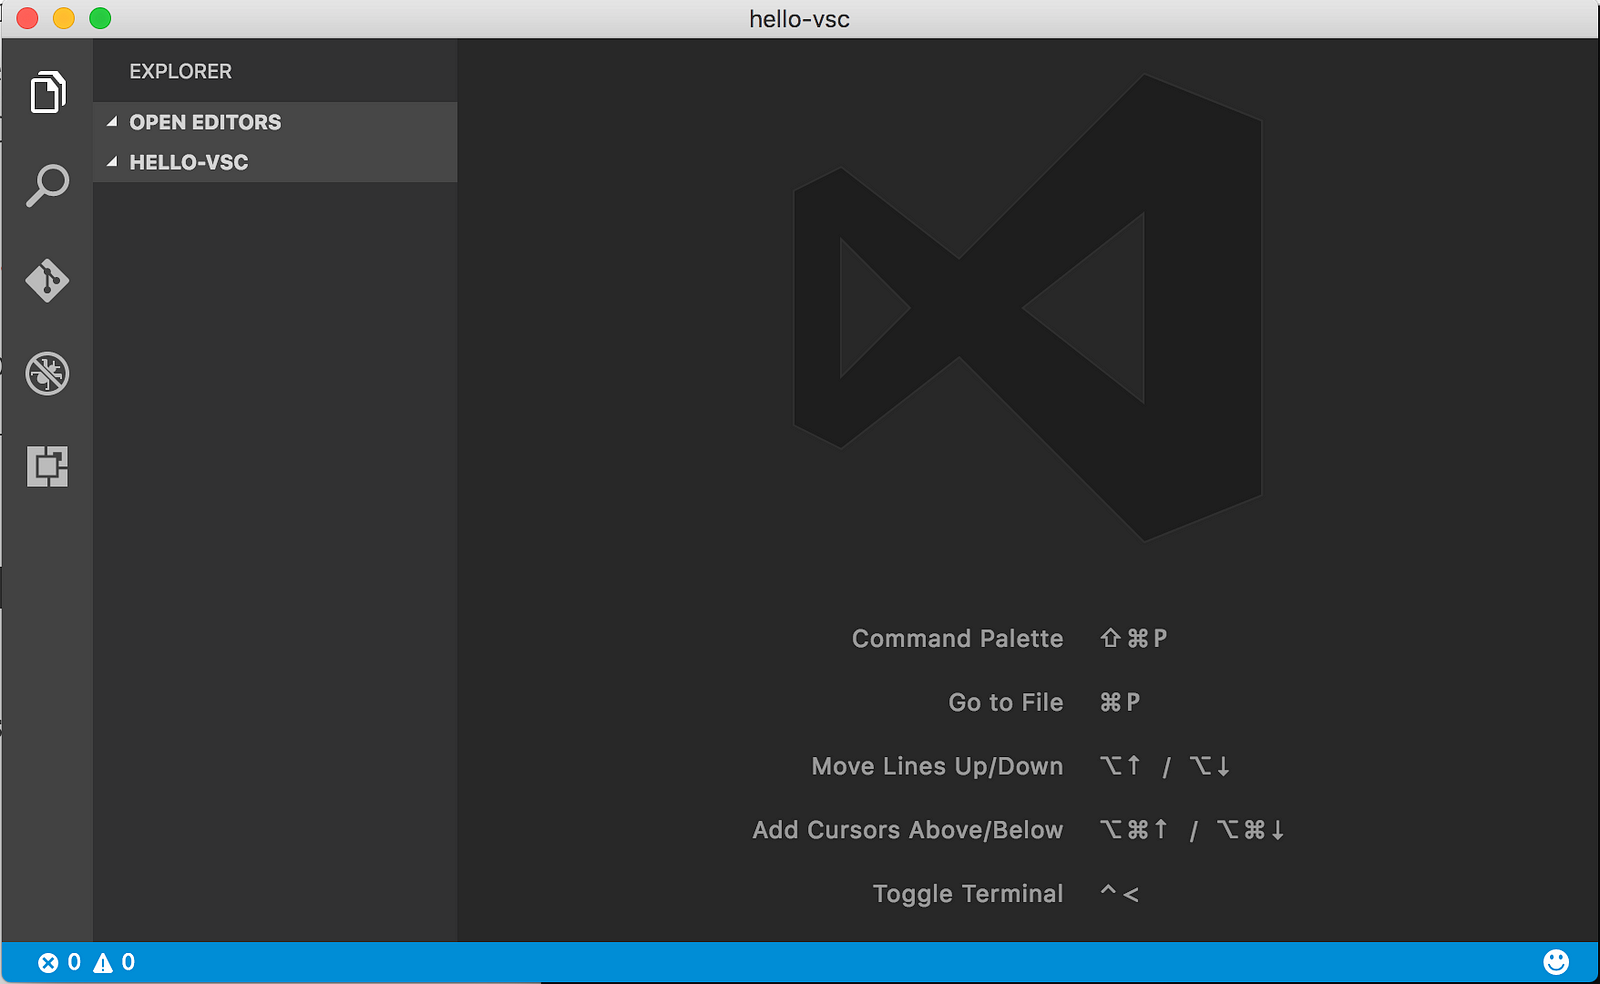
Create a directory where your project will reside let’s say (in a very informal way) ~/Desktop/hello-vsc and open that directory on VSC (Command + O):
Now add the files:
- [CMakeLists.txt]
- [hello_vsc.cpp]
Now lets write some code
In case you wonder, CMakeLists.txt is the input file of CMake. CMake is a command line tool used to control the software compilation process and it can be used for cross-platform software development. So in micro-services land is key to be cross-platform and as of today C++ is the greatest cross-platform language of all.
So let’s type the following code inside our CMakeLists.txt file:
cmake_minimum_required(VERSION 3.0)
project(hello-vsc)
set(SOURCE hello-vsc.cpp)
add_executable(${PROJECT_NAME} ${SOURCE})
where we first make sure to use as minimum version of cmake the 3.0, then we set the project’s name to “hello-vac”, next we say that the source code of our project is in “hello-vsc.cpp”, here you can add more files separated by one or more spaces and finally we set our executable’s using the same name we use as the project name and declaring the sources code to be included during the build process. So that’s it for CMake, in case you want to know more about CMake, these are excellent tutorials.{.markup–anchor .markup–p-anchor}
Now on “hello-vsc.cpp” type the following simple C++ code and save it:
#include <iostream>
int main(int argc, const char * argv[]) {
    std::cout << "hello Visual Studio Code! :)" << '\n';
    return 0;
}
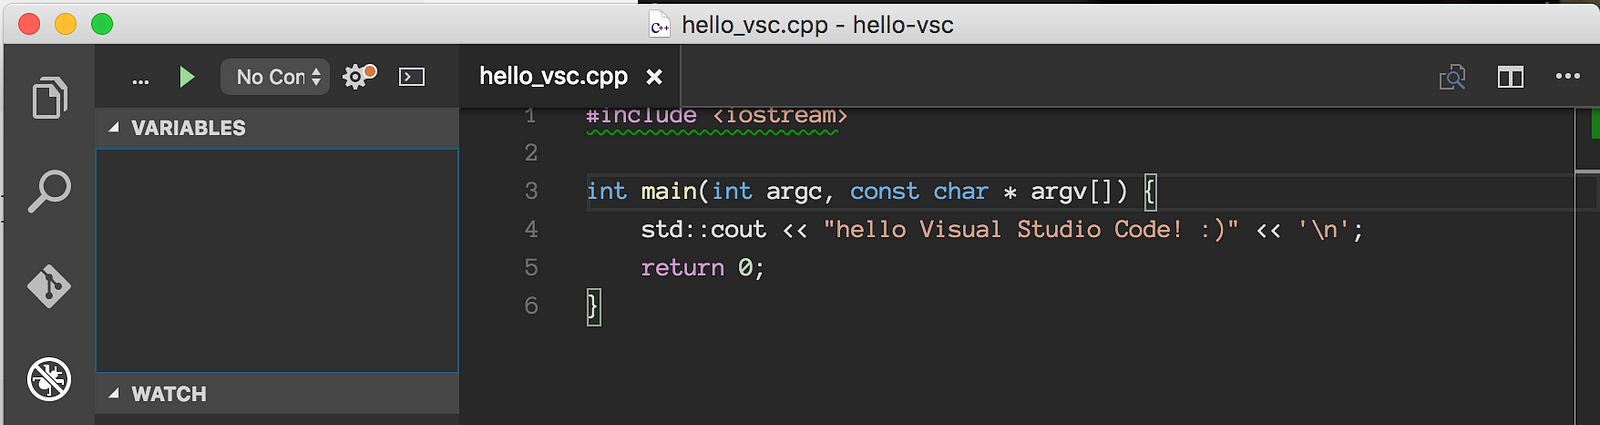
Now on the editor you will notice a green squiggle under the first and only #include statement:
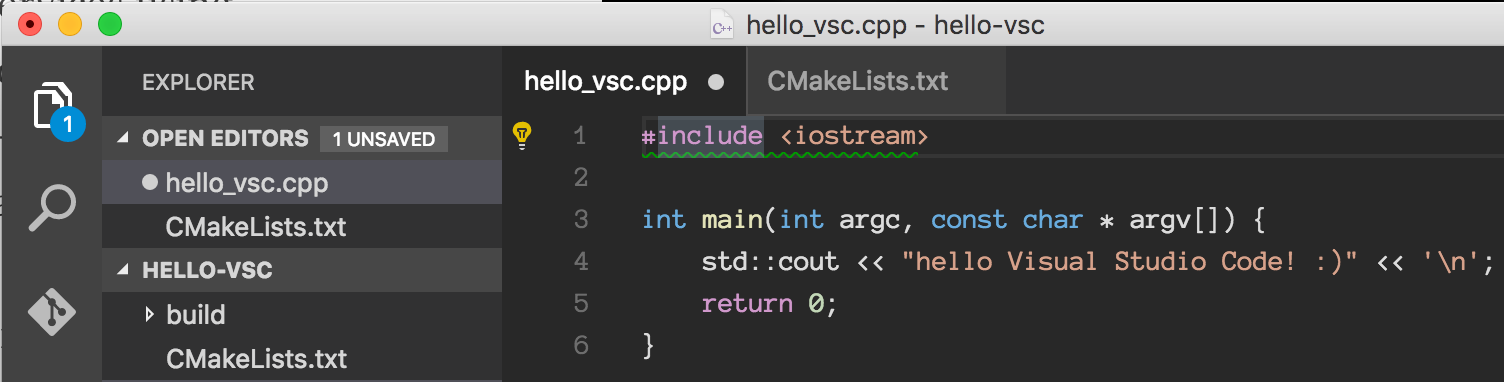
that means VSC cannot find the included file in this case iostream, so we need to generate the file c_cpp_properties.json file and in order to do that just:
- [click on the lightbulb that appears on the left side]
- [click Add include path to settings.]
you will be presented with a file with the following JSON source:
{
    "configurations": [
        {
            "name": "Mac",
            "includePath": ["/usr/include"],
            "browse" : {
                "limitSymbolsToIncludedHeaders" : true,
                "databaseFilename" : ""
            }
        },
        {
            "name": "Linux",
            "includePath": ["/usr/include"],
            "browse" : {
                "limitSymbolsToIncludedHeaders" : true,
                "databaseFilename" : ""
            }
        },
        {
            "name": "Win32",
            "includePath": ["c:/Program Files (x86)/Microsoft Visual Studio 14.0/VC/include"],
            "browse" : {
                "limitSymbolsToIncludedHeaders" : true,
                "databaseFilename" : ""
            }
        }
    ]
}
given that this article is focused on Mac OS X, we will use the section labeled “name”: “Mac”, but what we’ll do here shold be aplicable to the other platforms.
The c_cpp_properties.json file generated is enough for this article but if you require to use other third party libraries, the “includePath” array is the place to add more paths so VSC can provide auto completion information.
Generating Tasks for CMake and Make
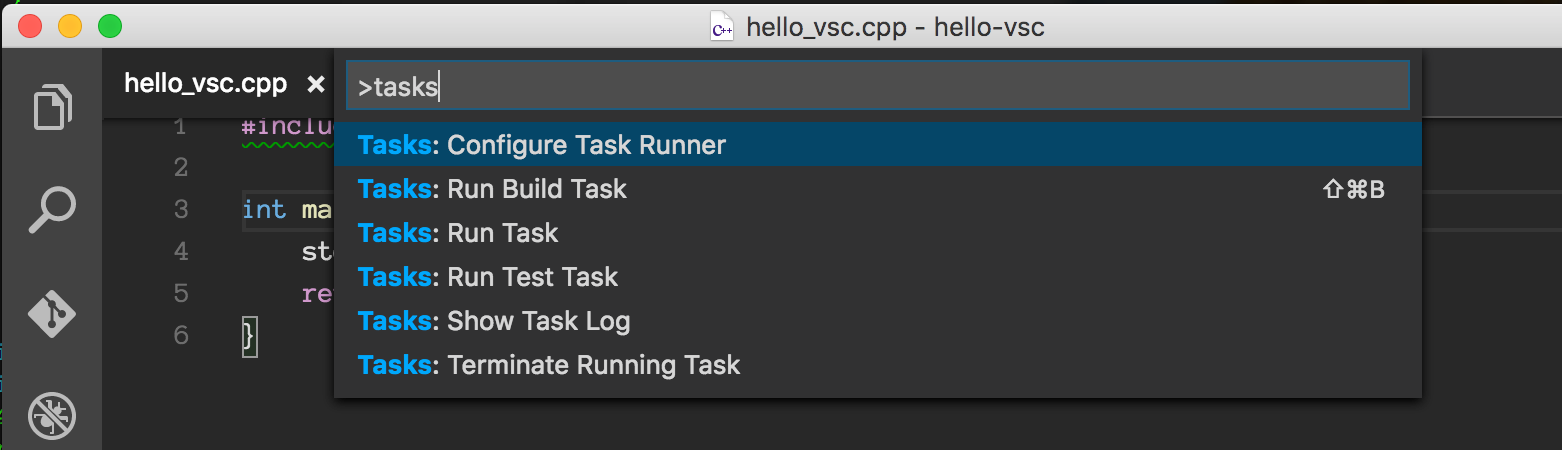
On VSC type ⇧+⌘+P and type “Tasks”, then select the one with the name “Configure Task Runner”:
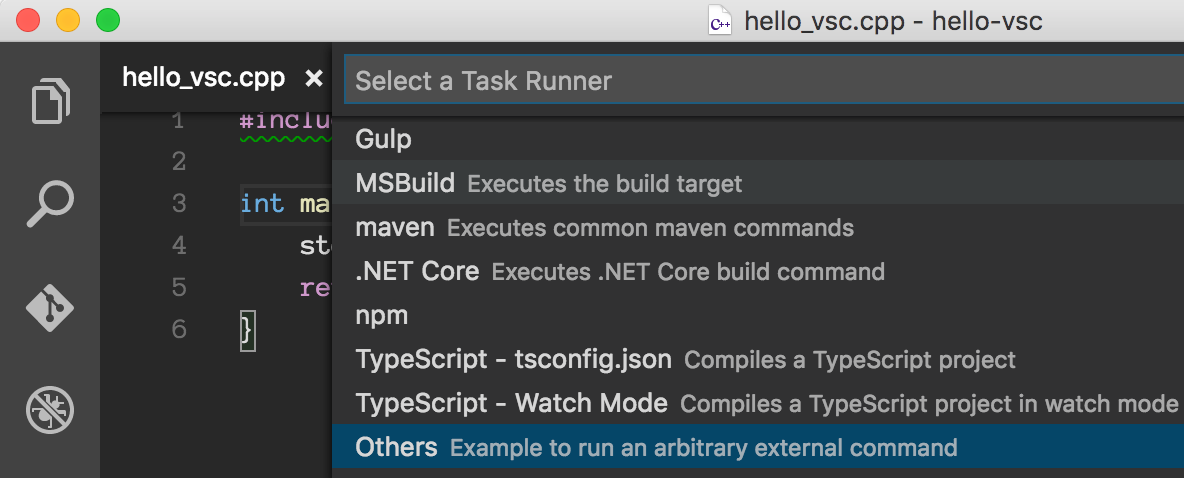
from the list pick the one labeled as “Others”:
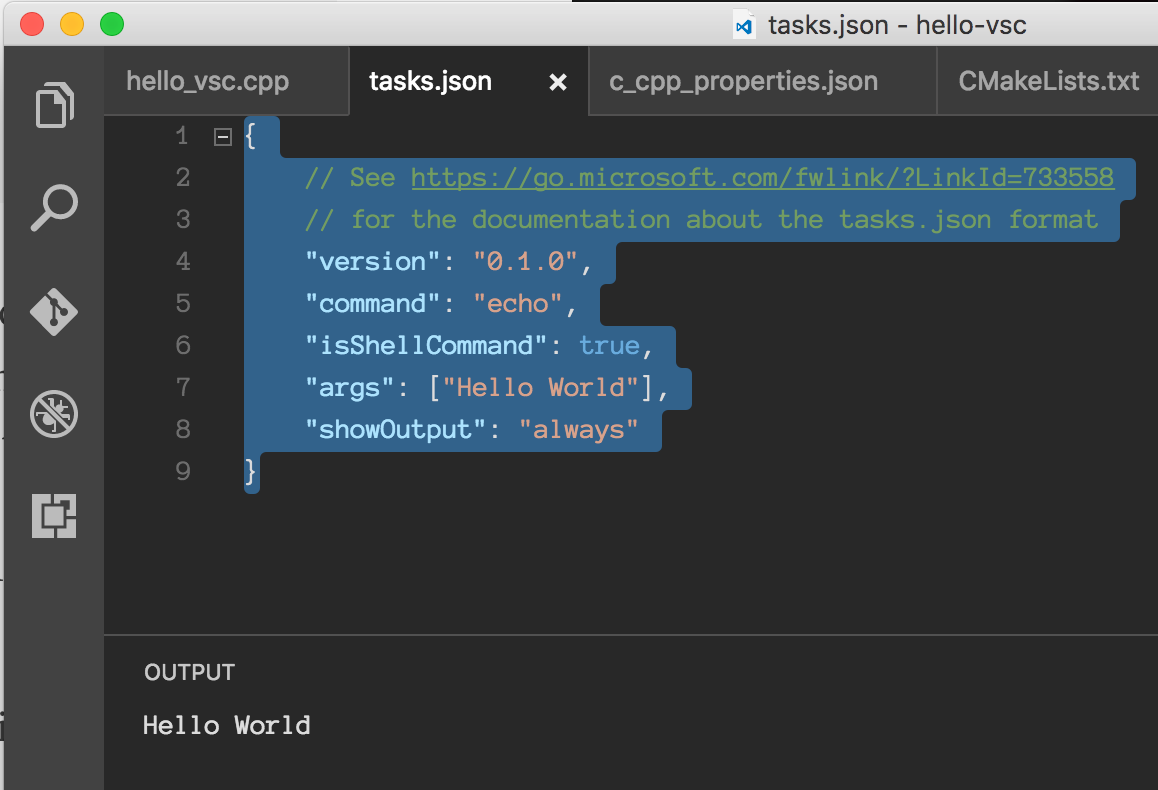
that’ll generate the “tasks.json” file that looks as follows:
{
    // See https://go.microsoft.com/fwlink/?LinkId=733558
    // for the documentation about the tasks.json format
    "version": "0.1.0",
    "command": "echo",
    "isShellCommand": true,
    "args": ["Hello World"],
    "showOutput": "always"
}
a task file allows you to add command that can be executed from the shell in the example above generated the tasks.json file executes the command “echo” and pass it as argument “Hello World”. To execute it just type:
- [⇧+⌘+P and type “Tasks” again, but this time select the option labeled as “Run Task”]
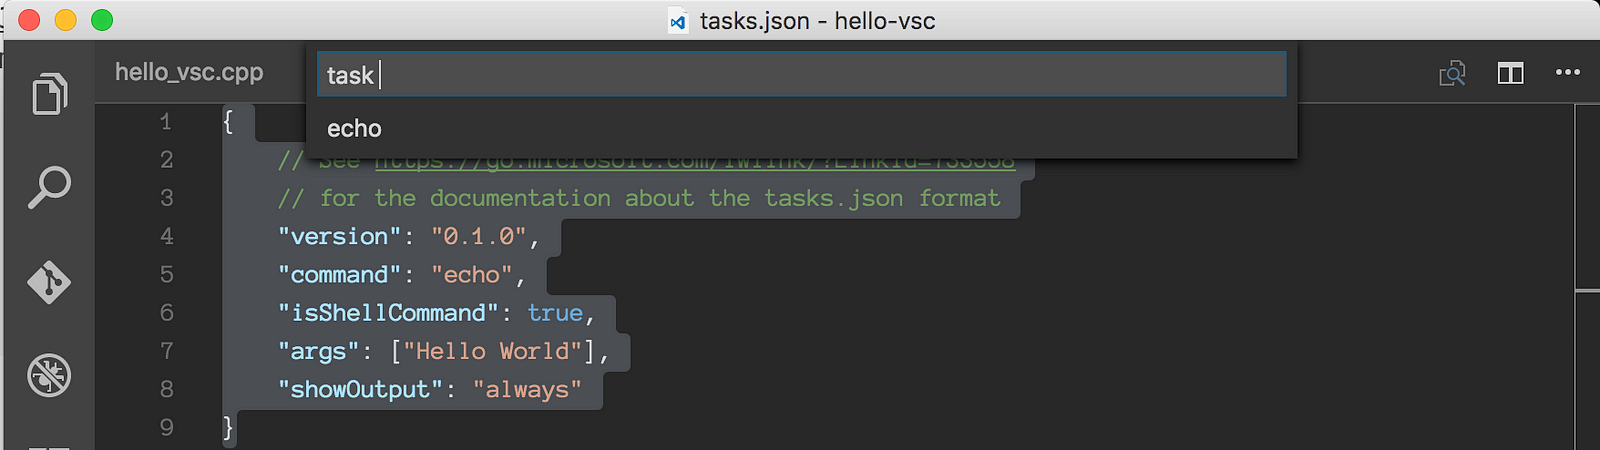
- [Select only item in the list labeled as “echo” and you will see the output at the bottom of the editor:]
More on tasks here
so now let’s do something more interesting, let’s modify the tasks.json file as follows:
{
    // See https://go.microsoft.com/fwlink/?LinkId=733558
    // for the documentation about the tasks.json format
    "version": "0.1.0",
    "command": "sh",
    "isShellCommand": true,
    "args": ["-c"],
    "showOutput": "always",
    "options": {
        "cwd": "${workspaceRoot}/build"
    },
    "tasks": [
        {
            "taskName": "cmake",
            "args": ["cmake -G 'Unix Makefiles' -DCMAKE_BUILD_TYPE=Debug .."]
        },
        {
            "taskName": "make",
            "args": ["make -j 8"],
            "isBuildCommand": true
        }
    ]
}
the interesting part in our case is the the “options” section where is used the property “cwd” (current working directory) and the substitution variable “${workspaceRoot}”, this variable contains the path to the folder where we load our project in VSC. We concat the “build” directory which should be created under our project’s root directory:
$ cd hello-vsc
$ mkdir build
$ ls -l
-rw-r--r--  1 ivanmejia  staff   125B Nov 28 08:41 CMakeLists.txt
drwxr-xr-x  6 ivanmejia  staff   204B Nov 28 08:42 build/
-rw-r--r--  1 ivanmejia  staff   136B Nov 28 10:44 hello_vsc.cpp
then the property “tasks” is an array of tasks we require, in this case the task “cmake” which allows us to generate all the build files required to generate a binary executable; in this case we and the task “make” that allows us to build our executable.
Finally the property “isBuildCommand” set to true enables the task to be executed via the Tasks: Run Build Task.
Now to run the “cmake” do the following:
- [⇧+⌘+P and type “Tasks” and pick “Run Task”]
- [From the list pick “cmake” and you’ll see the following output]
Usage
  cmake [options] <path-to-source>
  cmake [options] <path-to-existing-build>
Specify a source directory to (re-)generate a build system for it in the
current working directory.  Specify an existing build directory to
re-generate its build system.
Run 'cmake --help' for more information.
that means we are not passing correctly the arguments, that’s why we need another property called “suppressTaskName” (in tasks.json file above) and set it to true, that’ll suppress the task name to be passed as part of the task and instead passing the arguments of the task, which for the case of “cmake” are:
-G "Unix Makefiles" -DCMAKE_BUILD_TYPE=Debug ..
which basically instructs CMake to generate the build files and set it up to instruct the C++ compiler to avoid using optimizations and generate debug code; finally the “..” indicate to use the ../CMakeLists.txt file as the input of CMake.
The arguments for the “make” task are:
-j 8
basically instructs make to start building our program and use 8 jobs that can run simultaneously in each core of your computer’s CPU, even when in this case this argument is not necessary you can leave it in case you have more than 8 source files, that’ll make the compiler to compile all the sources in parallel assigning each source to one core and leaving the rest to other cores as soon as they get free of work.
So set “suppressTaskName” to true:
{
    // See https://go.microsoft.com/fwlink/?LinkId=733558
    // for the documentation about the tasks.json format
    "version": "0.1.0",
    "command": "sh",
    "isShellCommand": true,
    "args": ["-c"],
    "showOutput": "always",
    "suppressTaskName": true,
    ...
}
and again type ⇧+⌘+P and type “Tasks” and pick “Run Task” and now you should see an output like this:
-- The C compiler identification is AppleClang 8.0.0.8000042
-- The CXX compiler identification is AppleClang 8.0.0.8000042
-- Check for working C compiler: /Applications/Xcode.app/Contents/Developer/Toolchains/XcodeDefault.xctoolchain/usr/bin/cc
-- Check for working C compiler: /Applications/Xcode.app/Contents/Developer/Toolchains/XcodeDefault.xctoolchain/usr/bin/cc -- works
-- Detecting C compiler ABI info
-- Detecting C compiler ABI info - done
-- Detecting C compile features
-- Detecting C compile features - done
-- Check for working CXX compiler: /Applications/Xcode.app/Contents/Developer/Toolchains/XcodeDefault.xctoolchain/usr/bin/c++
-- Check for working CXX compiler: /Applications/Xcode.app/Contents/Developer/Toolchains/XcodeDefault.xctoolchain/usr/bin/c++ -- works
-- Detecting CXX compiler ABI info
-- Detecting CXX compiler ABI info - done
-- Detecting CXX compile features
-- Detecting CXX compile features - done
-- Configuring done
-- Generating done
-- Build files have been written to: /Users/ivanmejia/Desktop/hello-vsc/build
now we have all the files necessary to build our project under our ./build directory.
- [Now again type ⇧+⌘+P and type “Tasks” and but this time pick “Run Build Task”]
- [From the list pick “make” and you should see the following output:]
Scanning dependencies of target hello-vsc
[ 50%] Building CXX object CMakeFiles/hello-vsc.dir/hello_vsc.cpp.o
[100%] Linking CXX executable hello-vsc
[100%] Built target hello-vsc
now on your terminal window go to ./hello-vsc/build and type the executable’s name and you should see it output:
$ ./hello-vsc
hello Visual Studio Code! :)
So there you have your code being buld through CMake from within VSC.
Now let’s debug our code using LLDB inside VSC.
We need to configure our project to use the debugger so let’s follow these simple steps:
- [On VSC click on the little bug icon on the Sidebar]
- [Click the Configure Icon on the Debug View (the little gear with a red badge on it):]
- [From the list select LLDB (these steps apply for other C/C++ debuggers as well). That’ll generate a new file called launch.json. By the way, in case you wonder where all these files (c_cpp_properties.json, tasks.json and launch.json) are stored, if you look on your terminal you will see a ./.vscode directory, which is where all those files are stored.]
$ ./hello-vsc/.vscode$ ls -l
total 24
-rw-r--r--  1 ivanmejia  staff   771B Nov 28 10:15 c_cpp_properties.json
-rw-r--r--  1 ivanmejia  staff   250B Nov 28 15:45 launch.json
-rw-r--r--  1 ivanmejia  staff   625B Nov 28 15:28 tasks.json
- [Your new generated launch.json file should look like this:]
{
    "version": "0.2.0",
    "configurations": [
        {
            "name": "Debug",
            "type": "lldb-mi",
            "request": "launch",
            "target": "./bin/executable",
            "cwd": "${workspaceRoot}"
        }
    ]
}
- [Let’s modify the “target” property like this:]
"target": "./bin/hello-vsc"
that’ll make the debugger run and attach to our executable inside VSC.
- [Finally you need to add to your PATH the location of the lldb-mi dibbuger, which in case you have Xcode installed should be:]
/Applications/Xcode.app/Contents/Developer/usr/bin/
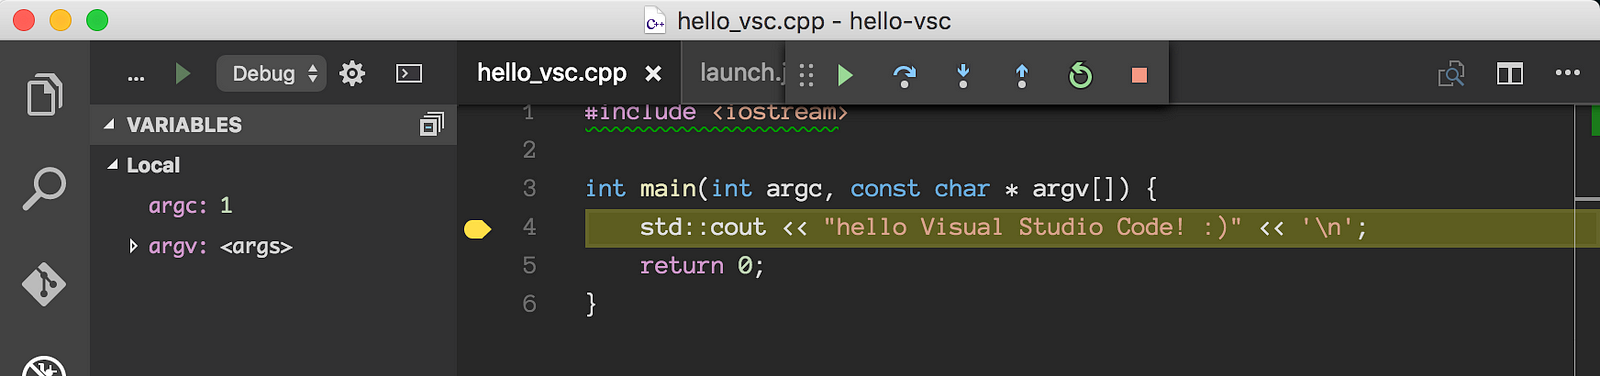
- [once you add to your PATH on your .bash_profile the location of the lldb-mi debugger just re-launch VSC and you should be able to debug your code by just clicking the “Start Debugging (F5)” button in the Debug View:]
So this is it, you have a C++ project being build with CMake and Debugged using LLDB on Mac OS X all inside Visual Studio Code. I hope this helps you.
I had to dig into various places to come with this solution and finally this looks promising as a confortable cross-platform development environment for C/C++ developers like me. 😀